Is your Starlink Power Supply not working, and are you looking for a way to replace it? If yes, then you have stumbled upon the right article.
What if you notice that your Starlink has an internet disconnection even if the weather and other sources are good enough to accompany it?
Even after turning it in and off, has no effects on it?
Well, it is an alarm that either your cable or your power supply is not allowing the internet to reach your devices.
I recently ran into a bit of a hiccup with my Starlink connection. One evening, I noticed my internet was down, and after some digging, I discovered that the problem was with the power supply.
It just stopped working out of the blue! While this was frustrating, it was a great learning opportunity.
I decided to tackle the replacement myself, and I want to share my experience to help you if you ever face the same issue.
So, without any further ado, let’s get started.
Can I Replace Starlink Power Supply?
Before we jump to its replacement part, let me clear you what the Starlink power supply does!
In simple language, the Starlink power supply is responsible for power distribution to the dish and its terminal.

What’s even more interesting is how the system maintains alignment with the constantly orbiting satellites.
This is achieved using a phased array antenna, which ensures your dish is always pointed in the right direction to maintain a stable internet connection.
Moreover, the power supply prioritizes safety by protecting against short-circuit, overvoltage, and overcurrent situations, ensuring the smooth operation of your Gen 1 dish.
And, now, back to the question. So, yes, you can replace the Starlink Power Supply if it no longer works properly.
Below, this blog provides detailed steps for replacing your Starlink power supply.
What kind of Power Supply does Starlink Use?
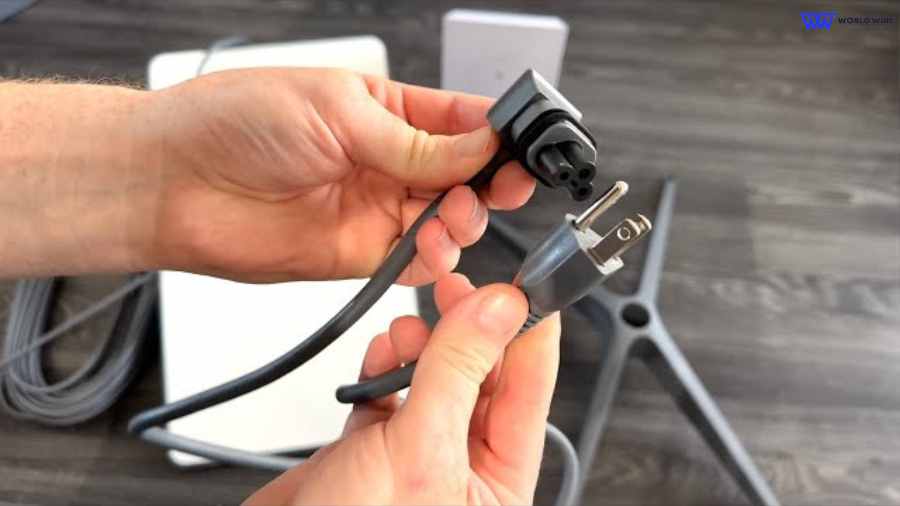
Starlink uses a specialized power supply to operate its satellite dish terminals.
This power supply converts AC (alternating current) power from a wall outlet into DC (direct current) power through a protocol called Power Over Ethernet (POE) that is suitable for powering the dish terminal.
When you connect your power cord to a 240 volt AC power outlet, the Starlink power cable converts it to 56v to 12v DC power. The conversion depends on the amount of power you need.
It ensures that the voltage level is appropriate for the dish to communicate effectively with Starlink’s orbiting satellites.
Additionally, the power supply includes safety features to protect against issues like short-circuiting, overvoltage, and overcurrent, ensuring reliable and safe operation of the equipment.
What Are Common Signs That My Starlink Power Supply Needs Replacement?
The signs will tell you that your Starlink power supply needs replacement.
Lack of Power
When the dish and router fail to power up, it’s a primary indicator of a defective power supply. Ensure the unit is connected correctly to the power outlet.
The supply unit may fail if everything seems fine and there’s still no power.
Intermittent Power
If your power supply sporadically turns on and off or the terminal loses power intermittently, this suggests an internal issue with the power unit.
Such behavior often points to unstable electrical connections within the power supply or a failing internal component.
Overheating
A power supply that becomes excessively hot is a significant concern. Overheating can result from overvoltage or an internal failure.
Not only can this damage the power supply itself, but it can also pose a fire risk.
A smoky or burning smell is an urgent sign that the power supply should be immediately unplugged and inspected.
Physical Damage
Any visible signs of wear and tear, such as cracks, dents, or scorch marks, can impair the power supply’s functionality.
Physical damage can compromise the unit’s ability to regulate power correctly, potentially harming your Starlink system.
Connection Problems
Frequent disconnections, unusually slow internet speeds, or Starlink no active account issues can sometimes be linked to power supply issues.
The Starlink dish may not maintain a stable connection to the satellites if the power supply is not providing steady and adequate power.
Indicator Lights
Unusual blinking or non-functional LED lights on the power supply can signal a malfunction. These lights are designed to indicate the operational status and help diagnose issues.
If they are flashing in a poorly documented pattern or fail to light up, it could indicate a problem with the power supply.
Starlink Power Supply Replacement – Step by Step Guide
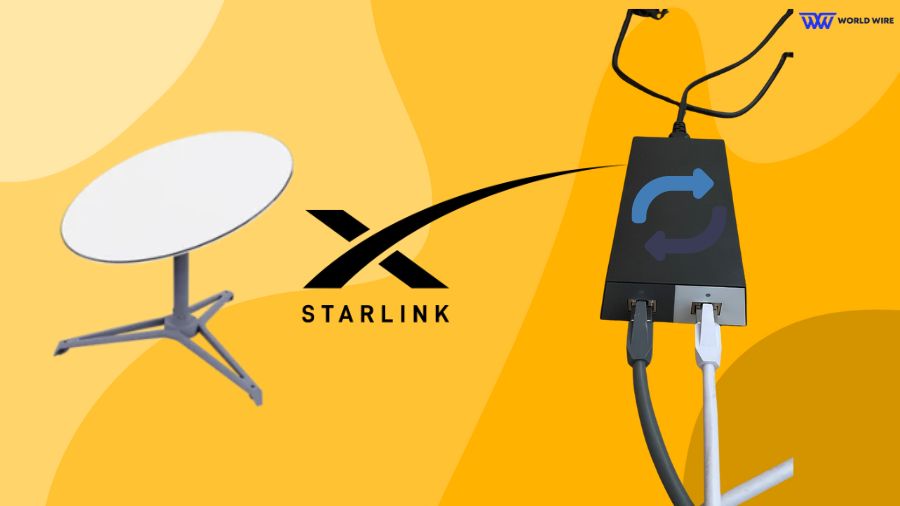
Follow this, and you can easily replace your power supply:
Power Off and Disconnect
The first thing you need to do is turn off your satellite dish terminal. You can do this by unplugging the power cable from the wall socket or adapter.
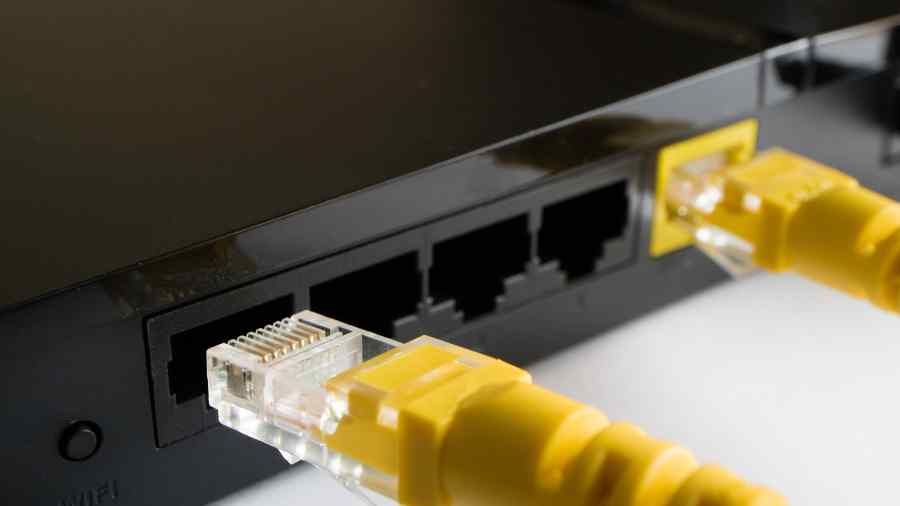
Now, check if any other cables are attached to your power supply. If so, kindly unplug them, too.
Also, remember the cord location, as you need to add the same cable to the new Starlink power supply cord.
Unscrew Power Supply
To remove the power supply unit, start by using a screwdriver to take out the screws carefully.
Be patient and gentle during this process to avoid damaging the power supply. Once all the screws are removed, you can safely detach the unit from the device.
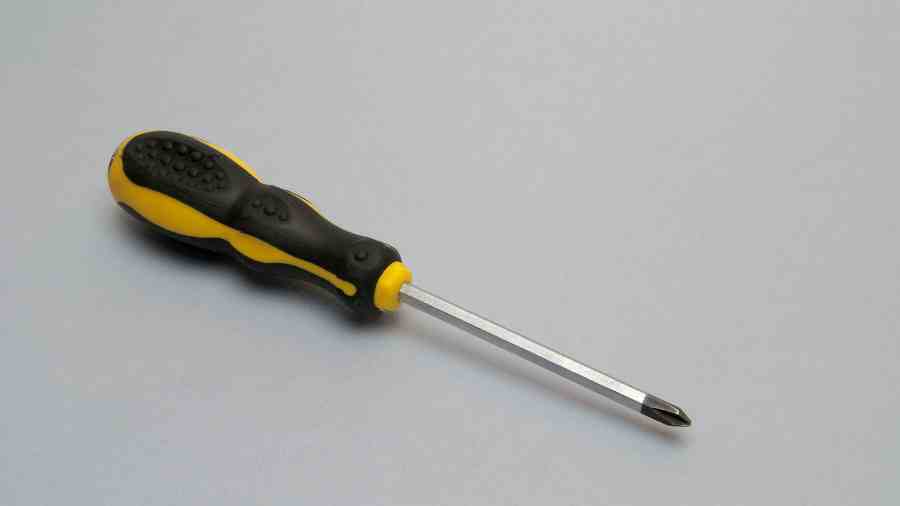
Handle it carefully to prevent any harm to the power supply or the surrounding components.
Place your New Power Supply
Once your damaged power supply is removed, you can add the new one to the existing place. Just ensure that all the screws are mounted properly and cables are placed in the right order.
Time to Test
Once your connection is done and the proper installation check is done, you can check whether it is working firmly or not.
You must plug in the power supply and check for the terminal light. If the light is solid, you are ready to go. Just ensure the internet is not interrupted while you are using it.
How Much Does Starlink Power Supply Replacement Cost
Before you buy the power supply, check the terminal model number. Make sure to match the connector type, amperage, and voltage specifications precisely to ensure compatibility with your device.
Once you have all the information, you can visit the official Starlink online store to purchase your authentic dish gear.

The cost of a replacement power supply for Starlink can vary depending on several factors, such as the model and whether it is purchased directly from Starlink or through a third-party seller.
However, the Standard Kit costs $599, and the Flat High Performance Kit is $2,500.
Troubleshoot Starlink Power Supply Replacement Issues
When troubleshooting issues related to replacing a Starlink power supply, consider the following steps:
Check Compatibility
Ensure the replacement power supply is compatible with your Starlink satellite dish model. For assistance, refer to the manufacturer’s guidelines or contact Starlink customer support.
Verify Connections
Double-check all connections to ensure they are secure and properly aligned. Ensure the power supply is correctly connected to the satellite dish and the power source.
Inspect Cables
Examine the power cable for signs of damage or wear. If it appears damaged, replace it with a new one.

Test Power Outlet
Plug the power supply into a different outlet to rule out issues with the original outlet.
Reset Devices
Perform a power cycle by unplugging the power supply from the outlet, waiting for a few minutes, and then plugging it back in. This can sometimes resolve temporary issues.
Check for Overheating
Ensure that the power supply and satellite dish are not overheating. If they feel excessively hot to the touch, allow them to cool down and consider relocating them to a cooler area if necessary.
Contact Support
If troubleshooting steps do not resolve the issue, contact Starlink customer support for further assistance. They may be able to provide additional troubleshooting steps or arrange for a replacement power supply if needed.
FAQs
Is Starlink AC or DC power?
Starlink uses a power supply that converts AC (alternating current) power from a standard 240V wall outlet into DC (direct current) 56V to 12V power suitable for operating its satellite dish terminals.
Therefore, while the power source may be AC, the power supplied to the Starlink equipment is DC.
How long does it take to replace a Starlink power supply?
The time it takes to replace a Starlink power supply can vary depending on factors such as the complexity of the installation process and the availability of replacement parts.
However, the Starlink kit is usually received in 1-2 weeks, whereas installation takes several hours.
Can weather conditions affect my Starlink power supply?
Yes, weather conditions can affect your Starlink power supply. Lightning storms, heavy rainfall, strong winds, and extreme temperatures can potentially cause damage or performance issues.
Are there third-party power supplies that work with Starlink?
There aren’t any officially sanctioned third-party power supplies specifically designed for Starlink yet. It’s generally recommended that the power supply provided by Starlink be used to ensure compatibility and optimal performance.
Using third-party power supplies may void warranties or cause compatibility issues.
Where can I buy a genuine Starlink power supply?
You can buy genuine Starlink products directly from the Starlink. If you need a replacement or additional power supply, contact Starlink customer support to inquire about purchasing one.


Add Comment