I am so excited to share this guide with you on how to screen record on iPhone 13, as this is one of the most asked features by our readers.
A few days back, I thought of recording my iPhone 13 screen while playing Blek to show my friend how amazingly I solved the puzzle.
However, being a new iPhone 13 user, I didn’t have much knowledge about how to screen record on iPhone 13. As such, I began searching for a guide that could help me capture my game performance, and after searching for hours, I finally found all the ways to help me with screen recording.
In this article, I will share several ways regarding how you can record your iPhone 13 screen with other relevant details based on my search and personal experience.
So, without further delay, let’s begin.
How To Screen Record On iPhone 13
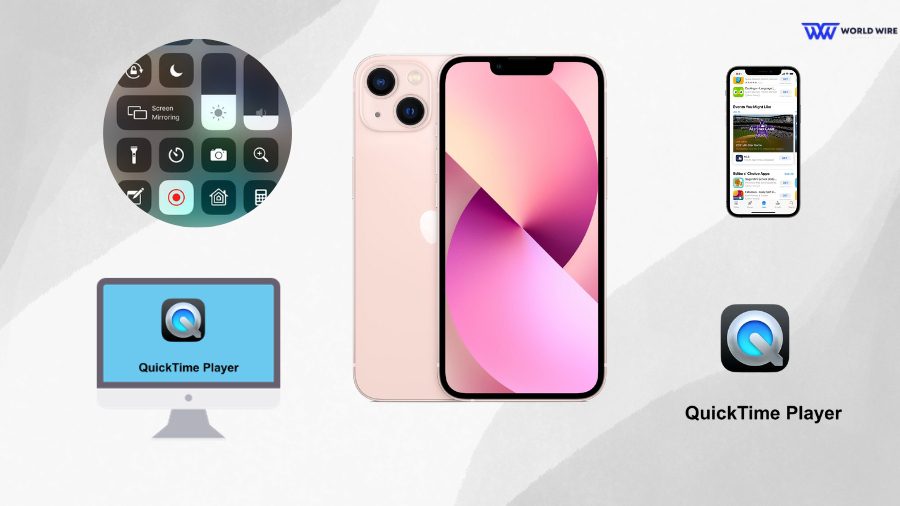
With many remarkable features, the iPhone 13 is the latest device with a built-in screen recorder feature, allowing you to record activities on the phone.
Recording the screen on iPhone 13 is a simple process, and you do this by these 4 methods.
- By using a built-in screen recording feature
- By using the External App screen recording feature
- By using QuickTime Player on Mac
- By using a Lightning to USB Cable and QuickTime Player on a Windows PC
We will detail each of these methods in subsequent sections.
Method 1: Using the Built-in Screen Recording Feature
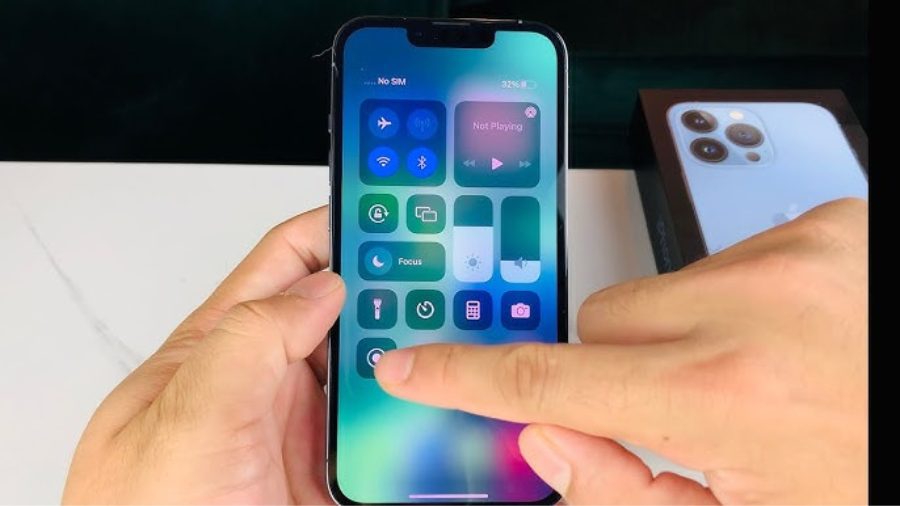
Like you can record the screen on your iPhone 14 with sound with its built-in recorder, the iPhone 13 has a powerful built-in screen recording feature, providing a convenient way to capture the screen.
You can follow the steps below to use the built-in screen recording feature on your iPhone 13.
- Open the Control Center on your iPhone 13 by swiping down from the top right corner of your device.
- Search for the “Screen Recording” icon, a small circle within a circle.
In case you don’t find the “Screen Recording” button, you will have to add it manually. You can do this through these steps.
- Visit “Settings” on your device.
- Open the “Control Centre.”
- Select the “Customise Controls’ option.
- Add the “Screen Recording” option.
- Once you complete adding, click on the “Screen Recording” button to start the recording.
- When you click the screen recording button, a countdown timer of 3 seconds will appear.
- After the countdown, the screen recording in your iPhone 13 will begin. Now, you can open the screen you want to record.
- Click on the red recording indicator at the top of the screen and then select “Stop” to stop once you finish the recording.
- Alternatively, you may return to the Control Center and click on “Screen Recording” again to stop your recording.
- A preview of your screen record video will appear on your screen after you stop the process.
- Review your recording and choose to save, edit or share with others.
Method 2: Using The External App Screen Recording Feature
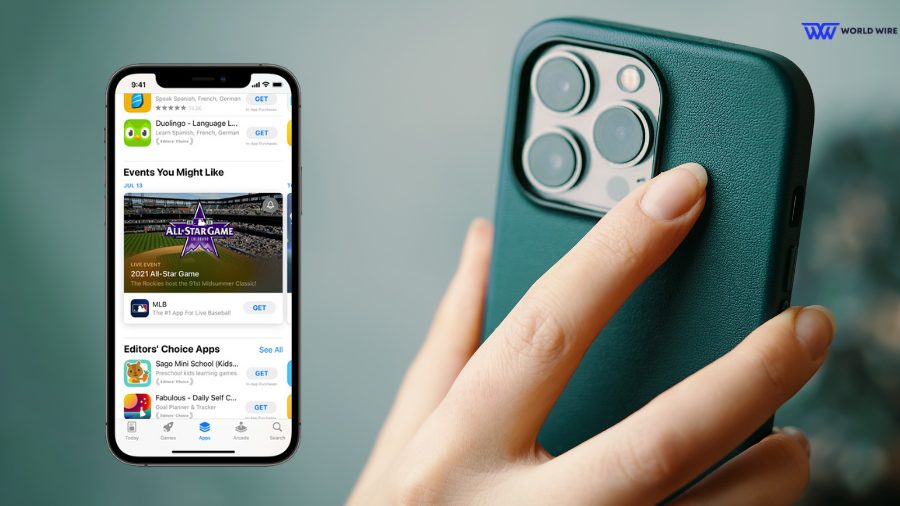
You can also record your iPhone 13 screen by using an external or third-party screen recording app. This method is useful when you want additional features and customization options while recording your screen, as external apps offer many advanced features compared to built-in screen recording.
Here, you have the steps to screen record on iPhone 13 by using the external app.
- Open the App Store on your iPhone 13.
- Search for the “Screen Recording” application in the search bar.
- You will be provided with a list of several apps for screen recording.
- Choose one application that has maximum positive user reviews and ratings.
- Download and install your preferred third-party screen recording app.
- You may be prompted to allow the app for your screen recording once you install the app.
- Please follow the on-screen instructions and allow the necessary access.
- Next, you may spend a few minutes to get acquainted with the procedure and features of the app, such as video quality adjustments, audio recording options, and adding effects to your recordings.
- You can record your iPhone 13 screen by clicking on the record button within the app.
- The app provides easy options for pausing, stopping or adjusting the recording as needed.
- You can find the captured screen in the screen recorder app’s gallery or the gallery of your device.
- From here, you can edit or share your recordings.
It is important to note that some external screen recorder apps require a subscription to access certain features. Before paying for an app, it is best to check its pricing and offerings.
Method 3: Using QuickTime Player on Mac
If you own or have a free Macbook from Apple, you are at an advantage. You can record your iPhone 13’s screen using the QuickTime Player app pre-installed on your Mac.
Please follow the below steps to record your iPhone 13 screen by using the QuickTime Player app on Mac.
- First, connect your iPhone 13 to your Mac through a Lightning cable.
- Now, open QuickTime Player on your Mac.
- Click on the “File” icon in the menu bar.
- Then select the “New Movie Recording.”
- You will see a new window with a video preview.
- Find the downward-facing arrow next to the record button.
- Click on the arrow.
- Select your iPhone 13 from the available camera and microphone sources list.
- Once you have selected your iPhone 13 as the input source, you will see your iPhone 13 screen being played on your Mac.
- Now, you must click on the record button to start the screen recording. You can also record the audio from your iPhone 13 by selecting your iPhone 13 as the audio input source in the same menu.
- Click on the stop button in QuickTime Player’s control bar when you have completed the recording.
- Lastly, you must save your recorded screen as a file on your Mac computer by clicking “File” and selecting “Save.”
- You can choose the suitable file format and location on your Mac.
Method 4: Using A Lightning To USB Cable And QuickTime Player On a Windows PC
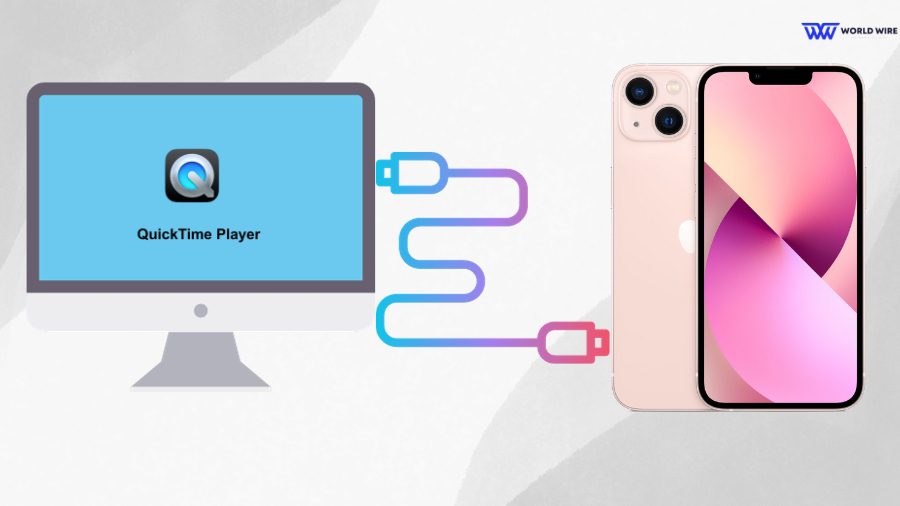
If you don’t have a Mac and want to record the screen of your iPhone 13 on a Windows PC, you can use the Lightning to USB cable and QuickTime Player.
Here are the steps to record a screen on an iPhone 13 by using a lightning to USB cable and QuickTime Player on a Windows PC.
- Open the Control Center on your iPhone.
- Click on the “Screen Mirroring” option.
- You must select your Windows PC from the list of available devices.
- Open QuickTime Player once the screen is mirrored on your Windows PC.
- Open “File” in QuickTime Player.
- Select “New Movie Recording.”
- You will see a new window with the video preview.
- Click on the arrow next to the record button to select your iPhone 13 as the recording device.
- Select the record button in QuickTime Player to start recording your iPhone 13 screen.
- When the recording is done, click the stop button in QuickTime Player.
- Save the recorded video at your preferred location on your Windows PC.
It is recommended to use genuine Apple Lightning to USB cables to establish a reliable connection between your iPhone 13 and the PC.
Frequently Asked Questions
Does the iPhone 13 have built-in screen recording features?
Yes, iPhone 13 is an advanced Apple device with powerful built-in screen recording features.
Can I record audio while screen recording on the iPhone 13?
Yes. You can record audio while recording a screen on your iPhone 13 with the help of its built-in screen recording feature. By default, the built-in feature will record audio from the device’s internal microphone.
However, you can capture audio from external microphones or Bluetooth devices.
How can I access and share my recorded screen videos on iPhone 13?
The screen recordings on your iPhone 13 are saved into your gallery unless you choose a specific folder to store them. You can access your recordings from here and share them with anyone.
Similarly, if you screen record on iPhone 13 with the help of any external app, the recordings will be saved to the gallery of that specific app.
Does screen recording on the iPhone 13 affect performance or battery life?
No. Screen recording does not impact the battery life. However, using it longer may cause the battery to drain faster.



Add Comment